Let’s face reality, your dog will need to be groomed all of their life which includes the dreaded nail trimming (cue scary music and scenes of blood and screaming, both you and the dog). It’s vital and necessary to teach your dog how to tolerate (or even accept and enjoy!) this behaviour as soon as possible to facilitate your job and that of the groomer or Animal Health Technicians. Training this behaviour will greatly reduce your dog’s stress (and yours!).
According to Alexandra Yaksich, Animal Health Technician (AHT) at Baker Animal Hospital and pioneer of the movement to ban declawing in cats, devocalization, ear cropping, and tail amputations; had this to say about keeping your dog’s nails short “If the nail is too long and touching the ground, it puts pressure on the finger which alters the normal weight distribution thereby affecting the posture of the animal. This creates a cascade that affects the biomechanics of movement and can cause pain”.
Just imagine you yourself trying to walk with your toenails scraping the ground. It might have an effect on the way you walk, wouldn’t it?
See the photo below and as shocking as it is, it proves that nail trimming should be a part of your weekly or bi-weekly routine.

The quick is the pink vein that grows within the nail (see photo above). It is sometimes difficult to see especially with black nails but practice makes perfect. If you do not feel comfortable trying to trim nails, there are plenty of places that do it for you. However, your job still isn’t done. The majority of dogs do not like their nails trimmed and/or don’t like their paws touched, therefore, they have to be trained at a young age if possible in order to tolerate this process. If you don’t keep up with the grooming, the quick keeps growing.
Myth Buster: The quick can recede over time, so if your dog’s nails are unruly, you can start trimming them slowly over a period of time until the quick is in its normal position.
Alexandra comments about the quick: “If the nail is clear you’ll see a pink line, that is where the vein is. The vein tapers at the end from the moment the pink part ends. If the nail is black, it is more difficult to see, therefore look from the bottom of the nail. With nail clippers go little by little until you see the white or black circular shape. Stop then!” Please see photo below for reference.


DON’T PANIC! Yes, it is painful to cut the quick and it may set you back on your training, but it’s not the end of the world. It will bleed a lot but no cause for immediate concern. Simply dab some Kwik Stop (which you can order online or ask your vet to order for you) or some corn starch on the nail, this should stop the bleeding within two minutes.
Ok, so how do you train your dog to be comfortable with grooming their nails? It’s baby steps, always baby steps.
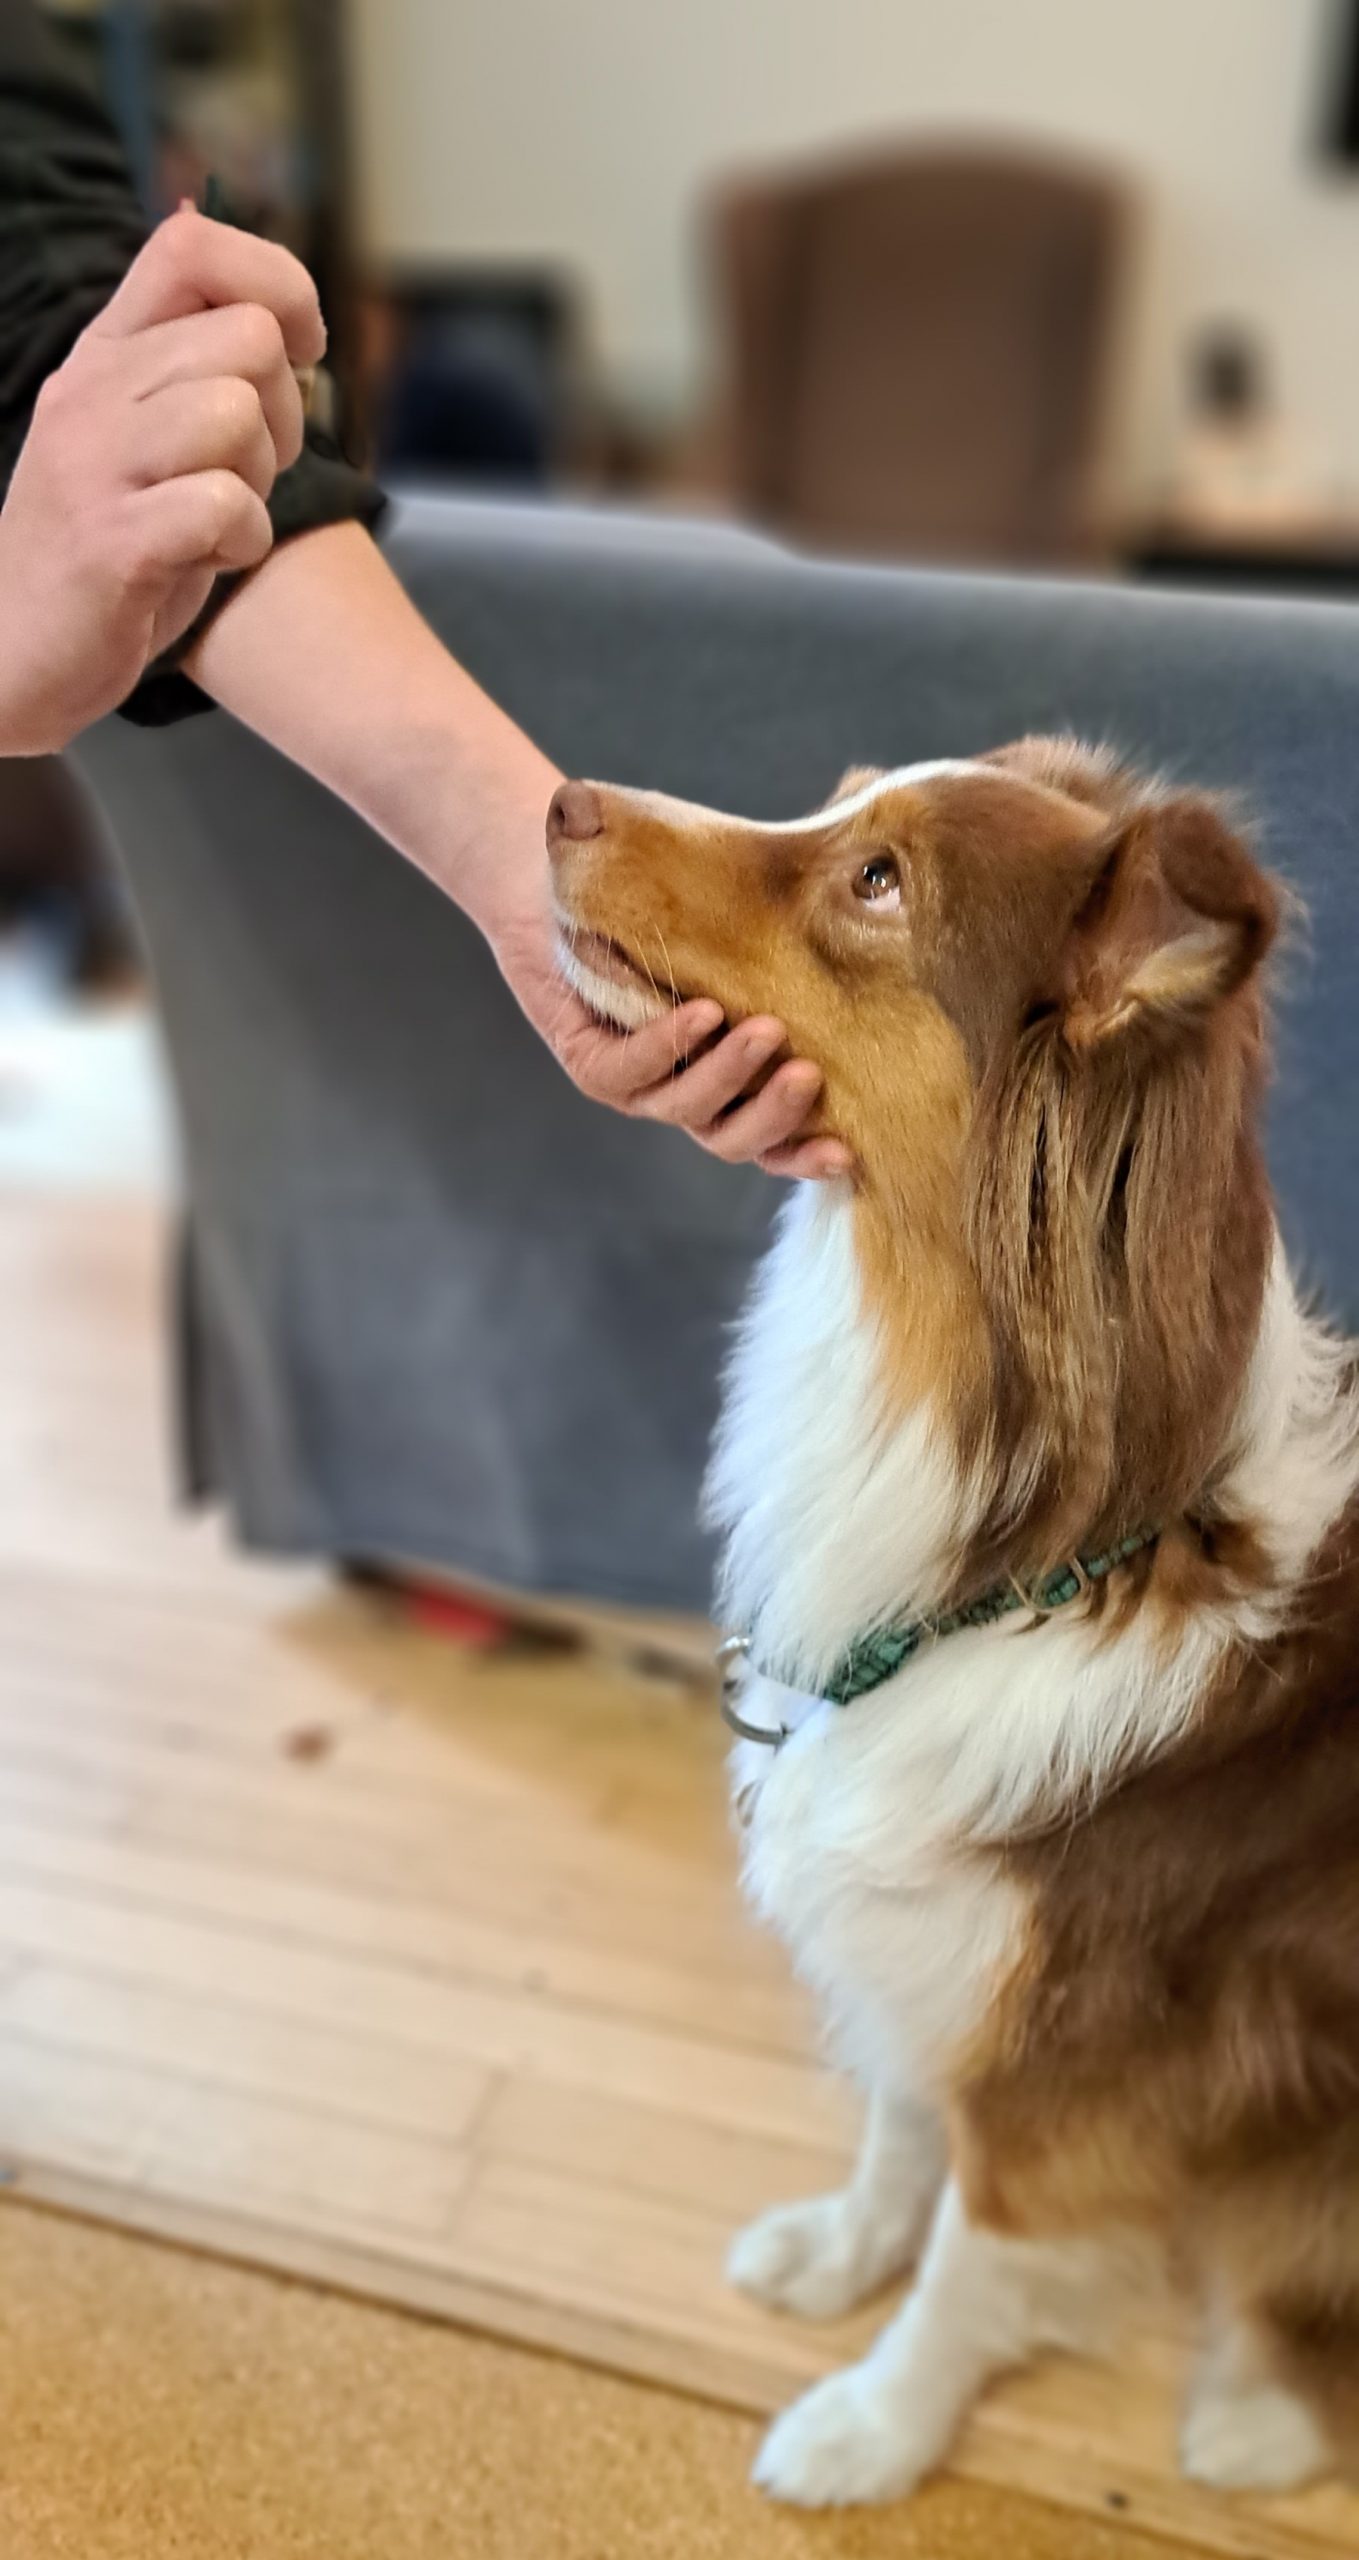
- Start by desensitizing your dog to having his paws touched. Always start up higher than where your dog would start to pull away. Drag your hand slowly down and then stop and say YES! in a happy voice and give your dog a treat. The reason we do this is to mark the moment in time for your dog when it happened. Through this process, they will create an association, my paws being touched = food! Who doesn’t like to get paid right?
- If your dog pulls away, you went too far too fast. BACK UP. Generally we recommend doing 5 to 10 repetitions in the same spot before moving on. Remember, you have to do all 4 paws separately!
- Remember then to add in longer intervals and pressure to your process. You need to be able to hold and look at each nail for several seconds without the dog pulling away.
Pro tip #1: Always start your next desensitization session before where you last left off. Your dog needs a warm-up to get back into the groove.
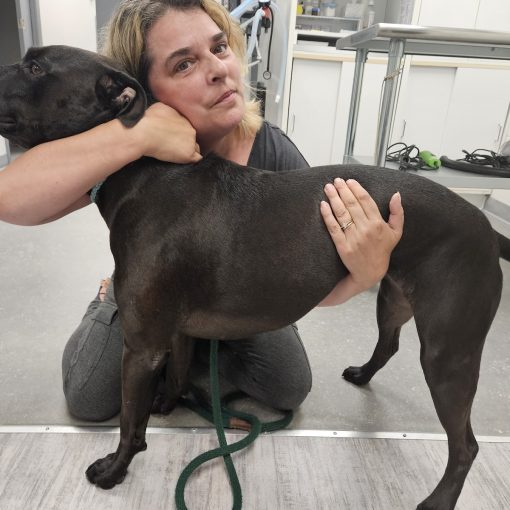
Pro tip #2: Get your dog to lay comfortably on their side in a long down position with their cheek touching the ground. This helps your dog relax and makes it easy for you to have access to their nails. However you can also have your dog standing up and lift their paw from behind, so you can see the bottom of all their nails.
Once the above mentioned portion is done, start introducing the instrument of your choice.
- While you are holding your dog’s paw, hold the instrument away from them, say YES! and give a treat.
- Slowly in steps, move the object closer and closer to your dog while you are holding their paw. Always say YES! and treat.
- If you are using a dremel, please create a positive association between them and the noise the dremel makes.
- Before clipping your dog’s nails with the clippers, begin by tapping the metal to their nail to simulate the nail being cut. If you think this is going to be stressful, then tap once lightly, say YES and then give several treats in a row and then stop.
- For the dremel, place the back end of the tool on another spot on your dog, like their side, so they can feel that it vibrates. Again if you anticipate this will be hard for them. immediately say YES! treat and then stop your session. When you start to file the nail, do it once and stop right away the first time. Don’t tell yourself you are going to file all their nails at once! Please start with one or maybe two.
If you can get away with continually feeding your dog brie cheese or doritos while another person is trimming, then all the better. These steps are for people whose dogs are sensitive to stress and have problems with manipulation. There is nothing wrong with your dog not totally loving this process but it is always nicer if your dog is calm during the process for you and for them. Remember your practice also helps the professionals who do it, if you choose to go that way.
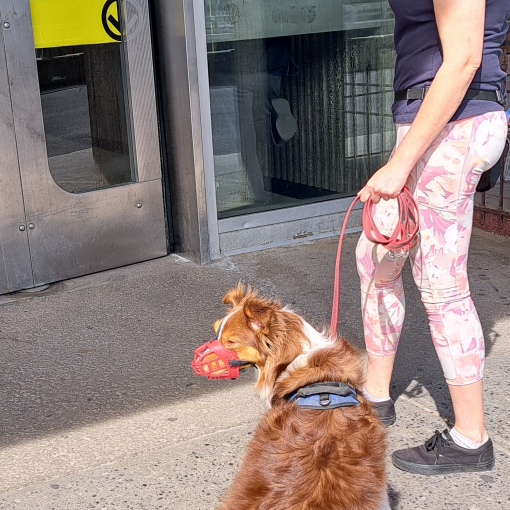
Signs you need the help of a professional: Your dog panics and flails everywhere, so much so you cannot hold their paws at all. They bare their teeth, snarl, snap (a snap is when you hear their teeth close in the air), make contact with your skin with their teeth and add pressure, bite you to blood. Please also consult your veterinarian if this is the case, they are also there to help you!
Which tool to use?
There are two tools we suggest, the nail trimmer or the dremel. You choose the one you feel comfortable with. The dremel is nice because it removes layer by layer and it is more difficult to cut the quick, however, the noise may be scary for your dog but it’s just a matter of getting your dog used to the feeling and the noise (it’s not very loud if you get a good one). The nail trimmers are the standard scissors used by vets and groomers. See the links attached for the ones we recommend.
https://www.amazon.ca/Millers-Forge-Stainless-Steel-Clipper/dp/B0002ARUKQ/ref=sr_1_10?crid=HGICT95TT8OY&keywords=dog+nail+clippers&qid=1680519825&sprefix=dog+nai%2Caps%2C1971&sr=8-10\https://www.amazon.ca/Trimmers-Clippers-Electric-Rechargeable-Grooming/dp/B09XLGLX5G/ref=sr_1_5?crid=7R2WZDJR36HX&keywords=dog+dremel+with+different+grinders&qid=1680520579&s=pet-supplies&sprefix=dog+dremel+with+different+grinders%2Cpets%2C139&sr=1-5
Good luck and hopefully this guide helps take some of the stress out of the process for you. Please feel free to check our facebook and instagram for videos on how to get your dog to lay on their side, paw desensitization and how to introduce and use nail trimming tools.
Nail Trimming Part 1: https://www.facebook.com/reel/961520678447078
Nail Trimming Part 2: https://www.facebook.com/reel/660483442807290
Carolyne Baker, TA
Trainer, For the Love of Dogs/Pour l’Amour des Chiens

2 thoughts on “Trimming Your Dog’s Nails”